 gbMagnify
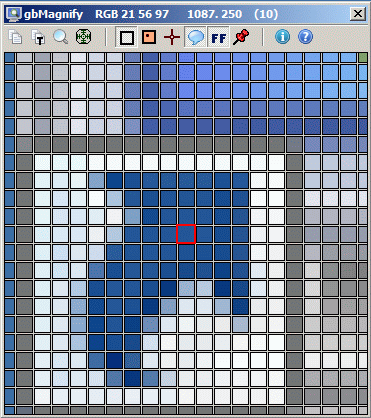
![]() gbMagnify is a freeware utilitiy for zooming in on a section of the screen. It provides a variety of other features to help navigate the screen and to save the results it displays.
gbMagnify is a freeware utilitiy for zooming in on a section of the screen. It provides a variety of other features to help navigate the screen and to save the results it displays.
To install, simply unzip the installation file (gbmagnify.zip) in a folder of your choice. In addition to the EXE, the installation includes the gbMagnify source code, resource file, and image files.
|
|
| Features gbMagnify provides a wide range of features, all focused on making it easier to find and manipulate information in text files.
|
gbMagnify also provides several keyboard alternatives to using the mouse. See the keyboard section below for more details.
When you restart gbMagnify, it is restored to the state it was in when you last exited gbMagnify (same screen area/target pixel, same settings).
The area used to display each pixel, called a color cell, an be adjusted in size in two ways - resizing the gbMagnify window or changing the zoom factor.
When the gbMagnify window is resized, the zoom factor is kept constant. This increases/decreases the size of the color cells.
When the zoom factor is changed with the mouse wheel, the gbMagnify window size remains constant. This increses/decreases the size of the color cells.
Also, the +/- buttons on the keypad can be used to increase/decrease the zoom factor.
Here are the toolbar options:
Comments and suggestions are welcome!

Copy Image
Copies an image of the gbMagnify window to the clipboard

Copy Text
Copies the RGB values (hex and decimal) of the target pixel to the clipboard

Default Zoom
Sets the zoom factor to 10 (21x21 pixel display area)

GoTo Target
Relocates the cursor, with left mouse button down, to the target pixel on the screen. This allows the user to modify the selected target pixel more easily/accurately.

Cell Border
Displays a border around each color cell, making it easier to distinguish
between adjacent pixels. When the size of a target cell gets to small, the cell border is
automatically removed to enable better viewing of the target cell.

Locator
Displays a small image on gbMagnify, proportioned to the size of the
desktop. A small dot is placed in the image to indicated where on the desktop the target
cell is located.

CrossHair
Replaces the default pointer cursor with a crosshair cursor.

Caption Display
Displays target cell color in the gbMagnify caption. However,
when the left mouse is pressed down in the gbMagnify display area, the caption
displas the color under the mouse - not the color of the target pixel on the desktop.
This allows the user to identify colors of nearby pixels without changing the target
pixel.

Hex Format
Toggles the caption display between hexadecimal and hex display of
the RGB color values.

On Top
Maintains the gbMagnify window on top of all other open applications.

About
Display gbMagnify version information.

Online Help
Opens the gbMagnify online help page in the user's default browser.
Other Comments
gbMagnify saves all of it's options in an INI file, which is placed in the same folder
as the EXE.